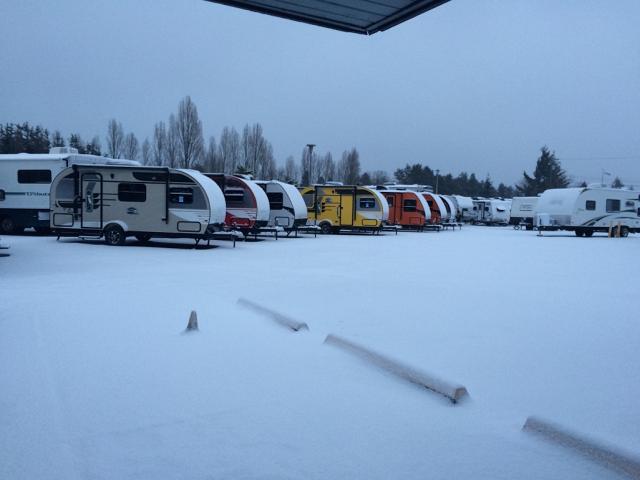
10299 McDonald Park Rd, Sidney, BC V8L 5X7
5 Minutes From YYJ and BC Ferries!
Tech Tips from TRIANGLE RV....Winterizing 101

1) Before you start the process, take your RV to a sani-station and dump your black and grey tanks.
2) Drain the fresh water tank and leave the plug out for Winter to prevent excess condensation.
3) Drain the hot water tank, remove the plug from the bottom and open the pressure relief valve on top. *NOTE* Leave the plug out for winter but keep the pressure relief valve open.
4) Bypass hot water tank with a temporary or permanent bypass and leave it this way for winter.
5) Remove the inlet hose from the water pump at fitting between pump and tank. Install a temporary hose on pump or use a pump conversion kit. Place the hose in a jug of RV antifreeze. ( We recommend having 2 gallons handy )
6) Ensure all the faucets are closed, turn on the pump.
7) Open the hot water tap farthest from the pump and run it until the water is pink, then shut off.
8) Open the farthest cold water tap, run until pink and then shut off. When you first turn on the cold tap, you will see antifreeze which was still in the tap from the hot water side.
9) Work your way back towards the pump, opening each faucet until you see pink, then shutting off. Don't forget the toilet, shower, and outside shower. We recommend securing plastic baggies over the taps to prevent sinks from staining.
10) It is critical that the next step be done exactly as described...Switch off the pump in the water lines and remove some of the pressure by turning any faucet slightly. Next, go to the city water inlet, remove the screen and very gently push in the check valve. You will see antifreeze come out of the city water inlet. If pressure from the pump is not released you could dislodge the O-ring.
11) If using a temporary hose, reconnect the water pump. Pour a cupful of antifreeze down the shower drain and into the trap of each sink, being careful to wipe up any excess to prevent staining.
12) NOTE, if your RV is equipped with laundry or an ice-maker you should consult the owners manual for any winterizing requirements.
1) Set up 2-3 chemical ( Dri-Z-Air ) or electric ( Stor-Dri ) units to help reduce humidity and prevent musty odours.
2) Close all your roof vents and put on AC covers.
3) Use newsprint or baking soda in the refrigerator and freezer to absorb moisture and leave the doors ajar.
4) Open closets, cupboard doors, and drawers for air circulation and remove as many stored items as possible. Prop up cushions and mattresses for air circulation or remove them for storage.
5) If you are leaving the battery in your RV, disconnect the negative lead, be sure that batteries have a full charge before storage and check them every month or so.
6) Check roof and external sealants and touch up where required.
7) Remove food which may spoil or attract rodents.
8) Check and repack wheel bearings before storage.
9) Periodically check your your sink traps and toilet, add antifreeze as required.
10) Clean the outside of your RV well before storage, as dirt, grime and salt leaves stains.
11) Protect your RV with a breathable fabric cover.
12) Vacuum the interior well and wipe all hard surfaces with a mild vinegar/water solution help prevent mildew.
If all this sounds like hard work....give us a call! 250-656-1122